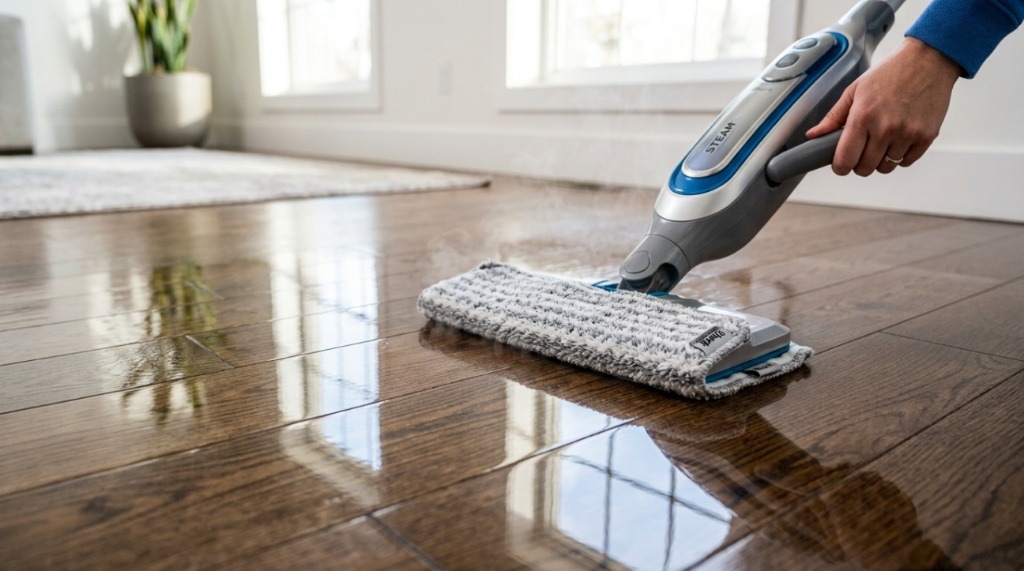
How to Clean Floors with Streak-Free Shark Pads
You’ve just mopped your floors, and within minutes, you notice it: that annoying film of residue, the dull haze, and a few visible streaks that make the whole effort feel wasted. If you own a Shark floor washer or steam mop, you already know how convenient these machines are. But achieving a truly clean, streak-free finish isn’t just about pressing a button and gliding across the floor. It’s about understanding your machine, choosing the right cleaning solution, and–most importantly–using the correct technique with your Shark pads. This guide covers everything you need to know to get consistently spotless, streak-free results on tile, hardwood, laminate, and vinyl floors.
Key Takeaways
- Streaks are usually caused by using too much cleaning solution, not too little; adjusting your dispensing rate is the first fix.
- Your pad type matters more than you think; there are specific streak-free Shark pads designed for different floor surfaces like hardwood versus tile.
- Always rinse or swap your Shark pad mid-clean when cleaning large areas to prevent pushing dirty water around, which creates a cloudy film.
- Hard water is a hidden culprit; using distilled water or a specialized low-foam cleaner can prevent mineral-induced streaking.
- Never use fabric softener, bleach, or standard floor polish on Shark pads; these products leave a sticky, streak-prone residue that is difficult to remove.
Why Do Shark Pads Leave Streaks in the First Place?
Before jumping into the solution, it helps to understand the root cause of the problem. In most cases, streaks aren’t a defect in the machine or the pad. They are a symptom of a process imbalance. When mopping with a Shark, you are essentially washing the floor with a thin layer of water and then wiping it dry. Streaks occur when that drying process is uneven or when the water leaves behind dissolved minerals or soap residue.
The three most common causes are using too much cleaning solution, using the wrong type of pad for the floor finish, and trying to cover too much square footage without changing the pad. Additionally, a dirty pad that is saturated with old grease or wax cannot effectively absorb the dirty water, leaving a hazy film behind.
Step-by-Step: How to Mop with Shark Pads for a Streak-Free Finish
Getting a perfect finish requires a deliberate routine. This is not just about mopping; it is about preparing the floor, managing the machine settings, and understanding the mechanics of the wash-dry cycle.
Step 1: Prepare the Floor Surface
This is the step most people skip, and it is the number one reason why Shark mops leave streaks on heavily soiled floors. Your Shark is a maintenance tool, not a heavy-duty scrubber. If you have tracked-in mud, pet hair, or large debris on the floor, the Shark pad will just push that sludge around. This leaves a visible dirt trail that looks like a grimy streak.
Before breaking out the Shark, sweep or vacuum the floor thoroughly. Focus on the corners and along the baseboards where dust accumulates. If you have a robot vacuum, run that first. Starting with a dry, debris-free floor allows the Shark pad to focus on lifting the microscopic film and grime rather than pushing around loose particles.
To ensure your entire home cleaning routine runs smoothly from start to finish, make sure to Buy a Hoover Vacuum That Matches Your Floors and Budget before diving into wet mopping.
Step 2: Choose the Correct Shark Pad
Not all Shark pads are created equal. While the standard white washable pads that come with the machine are suitable for general cleaning, they often do not perform well on smooth, glossy surfaces like laminate or sealed hardwood. For those finishes, you need finer microfiber designed to polish without leaving lint or residue.
When selecting pads, look for ones specifically engineered to be streak-free Shark pads. These typically feature a tighter weave and a higher absorbency rate. They pull the dirty water off the floor quickly, leaving the surface dry to the touch almost immediately. If you are using a Shark HydroVac, remember that the pad selection also affects the suction performance; a pad that is too thick might reduce airflow, leaving excess moisture behind.
Step 3: Use the Correct Water-to-Solution Ratio
If you have been battling streaks, the culprit is almost certainly too much cleaning formula. Shark recommends using their official formulas, but even those can cause cloudy residue if you use too much. The official bottles often have a fill line on the tank–do not exceed it.
If you prefer to use your own solution, stick to a low-foam floor cleaner. High-foam detergents (like dish soap) create bubbles that don’t get picked up effectively by the roller or pad. Those bubbles dry into a dull, soapy film that attracts dirt instantly. Here is a simple ratio guide depending on the machine type:
| Machine Type | Recommended Solution Ratio | Notes |
|---|---|---|
| Shark Steam Mop | No solution needed (water only) | Steam lifts the dirt; adding detergent can clog the steam vents. |
| Shark HydroVac | Follow the tank fill line (usually ~1-2 oz) | Never fill past the indicated line to avoid excess foam. |
| Shark Sonic Duo | 1/4 cup solution per 24 oz of water | Use warm water to dilute the solution effectively. |
Step 4: Master the Mopping Technique
Many people mop in a circular motion or random zig-zags. When using a Shark with a pad, you should keep the lines straight and overlapping. Overlapping helps prevent streaking because it ensures you cover the entire width of the pad with wet, cleaning solution.
Press the mop down gently. The Shark Sonic Duo has a scrub mode that vibrates, making gravity work in your favor. However, do not drag the mop backward. Once the pad has picked up dirt, dragging it backward drops that dirt back onto the floor. Glide forward in overlapping lines, moving from the farthest corner of the room back toward the door so you don’t walk on the wet floor.
Step 5: Rinse and Change Pads Mid-Clean
This is a game-changer. The pad on your Shark holds dirt, grit, and hair. Once that pad reaches its saturation point, it cannot absorb any more dirty water. When this happens, the pad simply pushes the grime around, leaving a visible streak path behind you.
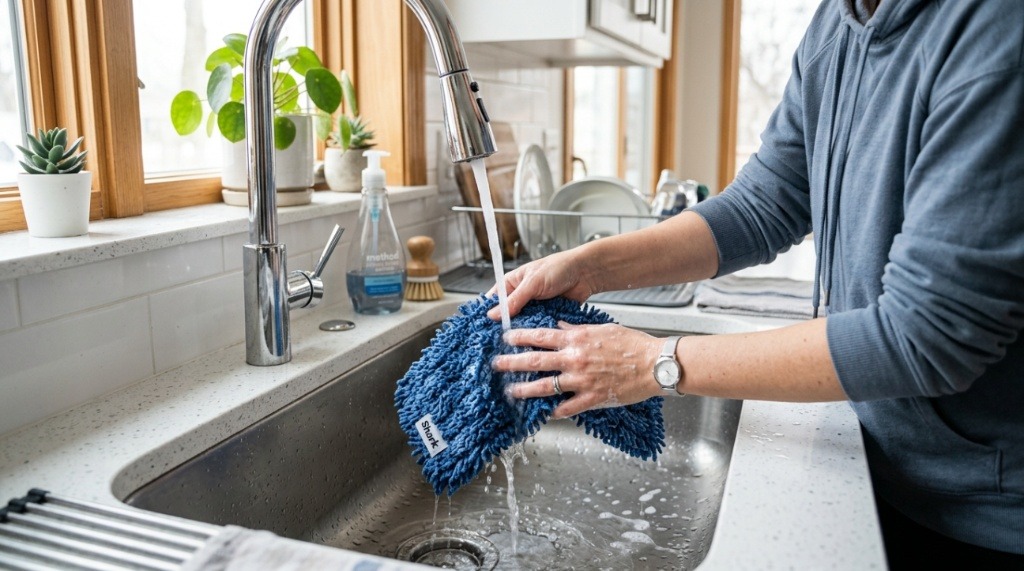
For a room larger than 400 square feet, you should have two or three pads ready to go. When the pad starts looking visibly dirty or when the floor starts looking hazy rather than wet, pause and swap the pad. You can flip the pad over if it is a C-fold style with four sides, but eventually, you will need a fresh one. Rinsing the pad under a hot tap mid-clean revitalizes the microfiber, but having a dedicated spare is faster and more effective.
Best Practices for Hardwood vs. Tile
Different floor materials require different care. What works on a glossy porcelain tile might ruin a matte hardwood finish. Your Shark pads are part of the safety system for these surfaces, but you need to adjust your cleaning chemistry accordingly.
Hardwood and Laminate
Hardwood flooring is porous and sensitive to excess moisture. The number one rule for hardwood is to ensure the machine does not leave standing water. The streak-free Shark pads for hardwood are usually thinner and less plush to prevent over-wetting. When cleaning hardwood, you are not washing the wood; you are wiping it.
To prevent streaks on hardwood, use the “trigger spray” feature (if you have a HydroVac) sparingly. Spray the water in front of the pad, not directly onto the machine. Allow the pad to absorb the moisture and do the cleaning. Do not go over the same spot repeatedly with wet solution, as this will leave a concentrated residue which dries into a white film. If you notice streaking on hardwood, dry the floor immediately with a clean, dry microfiber cloth afterward or use the “Dry” mode on the Shark to pick up excess liquid.
Tile and Grout
Tile is harder and more forgiving than wood, but the grout lines are a magnet for dirt. When cleaning tile with a Shark, the goal is to wash the grout and wipe the tile clean. However, the texture of the grout can catch and hold onto the dirty water dripping from the pad.
To avoid grey streaks on grout lines, try this technique: mop the tile with the pad wet, then immediately use a dry, clean towel or a dry Shark pad to buff the grout lines. This lifts the dirty water out of the porous grout. Also, avoid using acidic cleaners (like vinegar) on natural stone tile. The acid can etch the surface, creating permanent dull spots that look like very large streaks. Use a pH-neutral cleaner specifically designed for the type of tile you have.
Why Using “Just Water” Still Leaves Streaks
Many users think that skipping the soap and using only water will prevent streaks. In most cases, this is false. Tap water contains minerals like calcium and magnesium. When you use a Shark Steam Mop with tap water, the steam evaporates, but the minerals remain on the floor, drying into chalky, white streaks.
If you prefer to clean without chemicals, switch to distilled water in your Shark. Distilled water has been boiled and evaporated to remove these minerals. This is especially crucial for Shark Steam Mops, where the water is heated and evaporated repeatedly, leaving mineral scale inside the boiler and on the floor. If you live in an area with “hard” water (high mineral content), using distilled water is the simplest way to achieve a streak-free finish without changing your pad type.
Common Mistakes That Ruin a Good Mopping Session
Even with the right dilution and technique, a few small errors can sabotage your results. Being aware of these mistakes can save you time and frustration.
- Using fabric softener on washable pads: Fabric softener coats the microfiber fibers, reducing their ability to absorb water. This causes the pad to slide and skid instead of gripping the floor, leaving puddles and streaks. Wash Shark pads without softener and skip the drier sheets.
- Over-saturating the pad: A dripping wet pad does not clean; it just moves dirt around. Ring out the pad before attaching it to the mop if you have pre-moistened it. The pad should be damp, not soaked.
- Letting the machine sit idle: Many Shark models have a “Booster” setting or a spray trigger. If you spray the floor and then pause to check your phone, the solution dries before you wipe it up. This creates a concentrated spot of dried detergent. Spray, wipe, and move on.
- Using polishes or floor shine products: Shark pads are for cleaning, not polishing. If you use a “mop and glow” product, the acrylic in the polish will gum up the microfiber and leave a sticky, streaky mess that is nearly impossible to remove later.
How Often Should You Mop for Best Results?
You do not need to use the Shark mop every single day. Over-mopping—especially with a solution—can leave a buildup of residue. The frequency depends on your household traffic and pets. High-traffic areas like entryways and kitchens may need a wipe down every other day, but with a dry pad or light spray. Living rooms and bedrooms might only need a deep wash every two weeks.
When mopping frequently, use less solution (or just water for a maintenance pass). When mopping less frequently, increase the solution amount slightly to break down the biofilm that accumulates over time. This balance ensures you are removing dirt without depositing a layer of chemical residue that causes subsequent streaking.
Frequently Asked Questions
Can I use vinegar with Shark pads to remove streaks?
Yes, but with caution. Vinegar is a natural degreaser and can help cut through mineral residue. However, you should never use it on natural stone, marble, or unsealed hardwood. Mix one cup of distilled white vinegar with one gallon of distilled water. Use this mixture sparingly with your Shark pad to remove existing cloudy residue, but switch back to a neutral pH cleaner for everyday maintenance.
How do I get old dried streaks off the floor if they are already there?
Dried streaks are usually a build-up of wax or soap. Mix a solution of warm water and rubbing alcohol (about 1/4 cup alcohol per quart of water). Dampen a microfibre cloth with this mixture (do not soak the Shark pad) and scrub the streak area. The alcohol dissolves the soap film without damaging most floor finishes. Wipe the area dry immediately with a clean towel.
Is it better to air-dry or machine-dry Shark washable pads?
Air-drying is the best method to extend the life of the microfiber and maintain its streak-free capabilities. High heat in a dryer can melt the synthetic fibers, causing them to become stiff and less absorbent. If you must machine-dry, use the lowest heat setting or the “air fluff” setting and remove the pads while still slightly damp.
Why does my Shark leave a foamy residue behind?
Foamy residue is almost always caused by using too much cleaning solution or using a detergent that creates too much foam (like dish soap). The Shark pad cannot hold the bubbles and the water simultaneously, so the foam is left behind. Switch to a Shark-certified formula and stick to the exact measurement line on the tank. If foam appears, do not add more water—this makes it worse. Instead, remove the pad, rinse it, and go over the area with clean water only.
Conclusion
Cleaning floors with a Shark should be a quick, satisfying task. By identifying the simple causes of streaking—excess solution, hard water minerals, and saturated pads, to name a few—you can make small, tangible adjustments to your routine. Always start with a clean pad and a clean floor, use distilled water when possible, and follow the recommended dilution ratios for your cleaning products. Remember that the goal is to wipe the floor clean; if the pad leaves the floor visibly wet, you are using too much water. With the right technique and a quality pad, you can achieve that crisp, clear, streak-free shine every time.