When temperatures drop, driveways can take a serious beating. Ice, snow, and freeze-thaw cycles put enormous pressure on your pavement, often leading to costly cracks and potholes. Ignoring winter prep can mean big repair bills come spring. The good news? With a few smart steps, you can keep your winter driveway damage in great shape all season long.
Based on my own experience living in the Midwest, where winters are harsh and unpredictable, I’ve learned the hard way that prevention is key. I used to ignore small cracks—until one winter turned them into large holes. Ever since, I’ve followed these tried-and-tested steps that helped protect my driveway through some of the worst winters.
Ready to avoid hefty repair bills? Let’s break down how to winter-proof your driveway. For even more home care insights, be sure to explore The Straight Choice, where expert advice meets practical solutions.
-
Inspect and Repair Cracks Before the Freeze
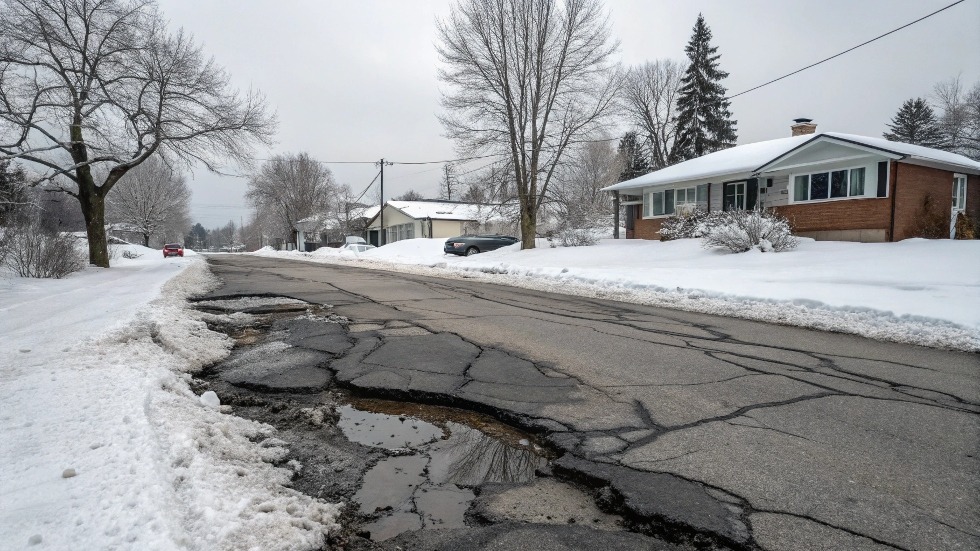
Water is your driveway’s worst enemy in the winter. It seeps into small cracks and, when temperatures drop, it freezes. Water expands by nearly 9% when it turns into ice. This expansion pushes against the pavement and worsens the cracks.
Before winter starts, inspect your driveway carefully. Look for:
- Hairline cracks
- Slight indentations
- Potholes starting to form
Fixing these early makes a big difference. Use a crack filler for minor gaps and patch compounds for bigger holes. Most hardware stores sell cold-weather fillers that work even in cooler temperatures.
According to the American Society of Civil Engineers (ASCE), regular inspection and minor repairs can extend a driveway’s life by up to 10 years. That’s a solid return on a weekend’s worth of work. Not sure how to identify winter damage signs? You can discover driveway crack at https://thestraightchoice.com/blog/7-expert-tips-on-how-to-repair-a-cracked-driveway-from-freeze-thaw-cycles/ to get expert tips.
-
Sealcoat Before the Snow Arrives
Sealcoating acts as a protective shield. It keeps moisture from seeping into your driveway, making it one of the most effective damage prevention techniques.
Best applied in fall when temperatures are still mild, sealcoating helps resist:
- Oil and chemical spills
- Water infiltration
- UV damage (which weakens asphalt over time)
Experts recommend sealcoating every 2–3 years. According to the National Asphalt Pavement Association, homeowners who sealcoat regularly can reduce major driveway repairs by 65%.
Sealcoat is not just about protection. It also gives your driveway a clean, black finish, boosting your curb appeal. Just make sure to follow the product instructions carefully. Avoid applying sealcoat if it’s going to rain or snow within 24 hours.
-
Clear Snow Quickly (But Carefully)
Removing snow promptly reduces water exposure. The longer snow sits, the more likely it will melt and refreeze inside small cracks. This cycle increases damage.
Here’s how to shovel smart:
- Use a plastic shovel to avoid scratching
- Shovel with the grain of your pavement
- Don’t chip at ice—use eco-friendly ice melt instead
Try to avoid metal shovels or plows with metal blades, as they can scrape off the sealcoat. If you own a snow blower, adjust the settings to keep it from cutting too deep.
Additionally, avoid using salt-based deicers. These can corrode both concrete and asphalt over time. Look for calcium magnesium acetate or potassium chloride products, which are less damaging to surfaces.
-
Improve Drainage Around the Driveway
If water pools near or on your driveway, you’re inviting winter damage. Proper drainage helps water flow away before it can freeze.
Steps to improve drainage include:
- Cleaning out nearby gutters and downspouts
- Slope landscaping so water flows away from the pavement
- Installing a French drain along the sides
According to the U.S. Environmental Protection Agency (EPA), poor drainage is one of the leading causes of pavement deterioration in residential areas. It’s often overlooked, but vital.
In my case, simply redirecting a downspout that emptied near my driveway significantly reduced ice patches and related cracks. It’s a low-cost, high-impact move.
-
Avoid Heavy Loads and Parking in One Spot
Concrete and asphalt can become more brittle in cold temperatures. Leaving heavy vehicles parked in one spot too long puts stress on the surface.
To avoid this:
- Rotate parking positions regularly
- Avoid parking trailers, boats, or large trucks on the driveway during the winter
- Use temporary parking pads or mats if needed
According to the Asphalt Institute, uneven weight distribution is a leading cause of structural failure in colder climates. Even a well-maintained driveway isn’t immune if subjected to repeated stress.
Spreading out the weight gives your pavement time to rebound, preventing indentation and weakening.
-
Don’t Overlook Driveway Edges
The edges of your driveway are its weakest points. They’re more exposed and prone to crumbling. When plowing or shoveling, you might unintentionally cause damage.
Tips to protect edges:
- Avoid driving too close to the sides
- Reinforce with gravel or pavers
- Install markers to guide snow removal efforts
In my neighborhood, I’ve seen driveways ruined at the edges simply due to poor snowblower aim. A few inexpensive driveway markers from the hardware store helped me avoid that mistake.
Additionally, keep grass trimmed and dirt packed along the sides. This reduces water runoff directly onto the edge, minimizing erosion and freezing damage.
-
Use a Driveway Heating Mat or Snow-Melting System
If you want to go high-tech, snow-melting mats are an option. These systems prevent snow from accumulating, reducing the chance for freeze-thaw damage.
While they require an upfront investment, they’re ideal for:
- Sloped driveways
- Homes in areas with heavy snowfall
- Elderly homeowners who want to avoid shoveling
Some systems can be plugged in and placed temporarily. Others are installed under the surface. While costs vary, you’ll save time and reduce long-term maintenance needs.
According to the Home Innovation Research Labs, homes using heated driveway systems report 80% fewer ice-related driveway issues.
Read More Also: The Power of Storytelling in Marketing: How to Forge an Emotional Brand Connection
Conclusion
Winter can be harsh, but your driveway doesn’t have to suffer. A mix of preparation and mindful upkeep can keep cracks and potholes at bay.
Let’s recap the key steps:
- Fill and repair cracks early
- Apply a fresh coat of sealant
- Clear snow safely and quickly
- Improve drainage
- Distribute heavy loads
- Protect edges
- Consider snow-melting tools
By staying one step ahead, you save money and extend the life of your driveway. Trust me, a few hours of prep in the fall will save you days of repairs in the spring.
Got a winter maintenance tip or a story to share? Drop a comment below or share this article with someone who might find it helpful!
Read More Also: Facebook Shadow Ban Explained: Causes, Signs, and Recovery Tips
FAQs
How often should I seal my driveway?
Every 2–3 years is recommended. Sealing too often can cause peeling, so follow the product’s guidelines.
What type of ice melt is safest for driveways?
Use calcium magnesium acetate or potassium chloride. These are less damaging than rock salt and are eco-friendly.
Can I patch a driveway in winter?
Yes, but use cold-weather crack fillers and patch materials specifically made for low temperatures.
Are heated driveway mats worth it?
If you live in areas with frequent snow, they can prevent damage and reduce the need for shoveling.
What is the biggest cause of winter driveway damage?
Freeze-thaw cycles. Water enters cracks, freezes, and expands—causing major deterioration.